Your First Ten Minutes
Turn an empty garage into a working cloud stack and sign your first customer.
You own a cloud company. It fits inside a one-car garage. This walkthrough shows what happens during the opening minutes, when it happens, and what to do next. Read it before starting or keep it open on a second screen.
01 Where you're starting
One wall cabinet. One ISP line. One bill you can't miss.
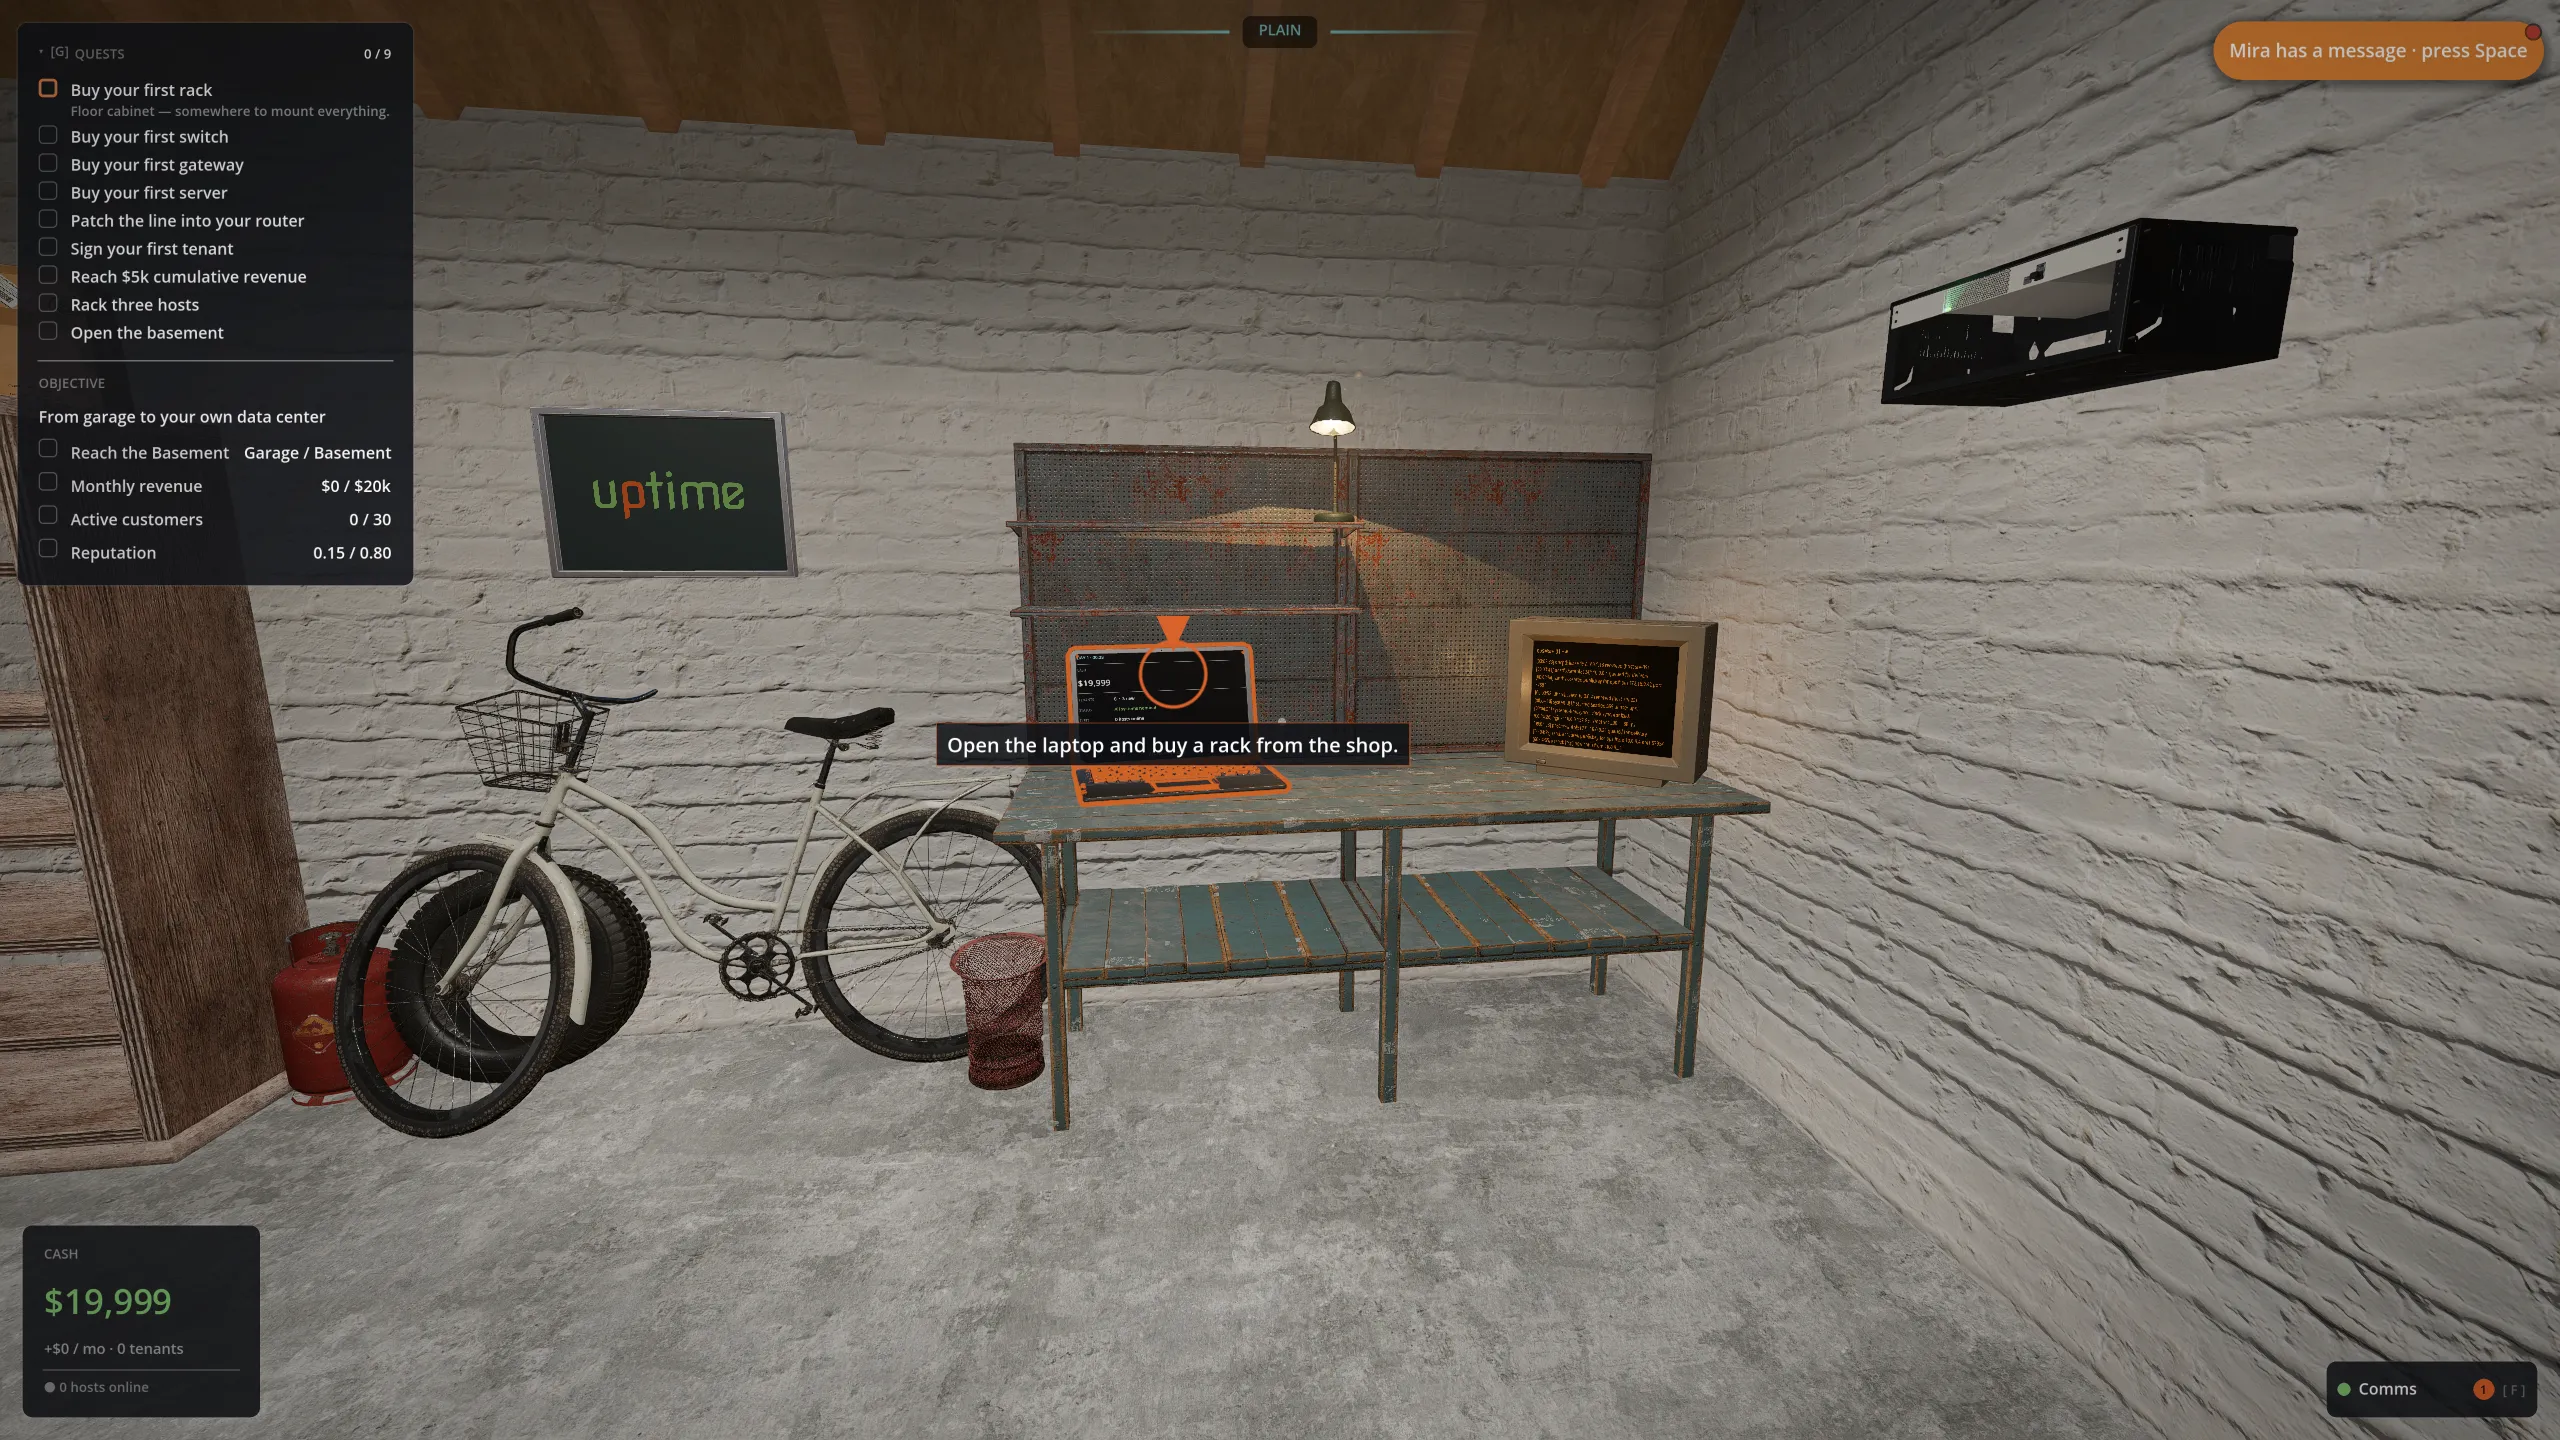
The garage contains a workbench and laptop, a small wall cabinet, and a live fiber line. You have enough money to build a starter stack, but not enough to buy carelessly. Nobody on the internet knows your company yet; the next ten minutes are about changing that.
Your entire runway. Buy the stack you need, not the one you eventually want.
Prospects arrive slowly at first. That is expected while the company is unknown.
The ISP line is already active. Connect your gateway to it; you do not need to buy it.
She follows your progress over comms and nudges you toward the next useful action.
Mira
One wall cabinet, one ISP line, and one bill the company cannot afford to miss.
02 The controls you need right now
Walk up to the thing. Press E.
Most actions happen in the world rather than through a menu. Walk to the laptop to shop, approach a rack to inspect it, and look directly at ports or equipment before interacting.
| Input | Action |
|---|---|
| W A S D | Walk |
| Mouse | Look |
| Shift | Run |
| E | Interact with the object or port in focus |
| Q | Cancel, step back, put down an item, or remove a cable anchor |
| G | Show current quests |
| F | Open communications |
| Tab | Toggle between plain language and engineer telemetry |
| Esc | Pause or leave the current surface |
| F1 | Open help |
Lost?
Press G to see the current quest or F to read Mira's latest hint.
03 Minute 0–1 · Open the ops console
The laptop is your whole back office.
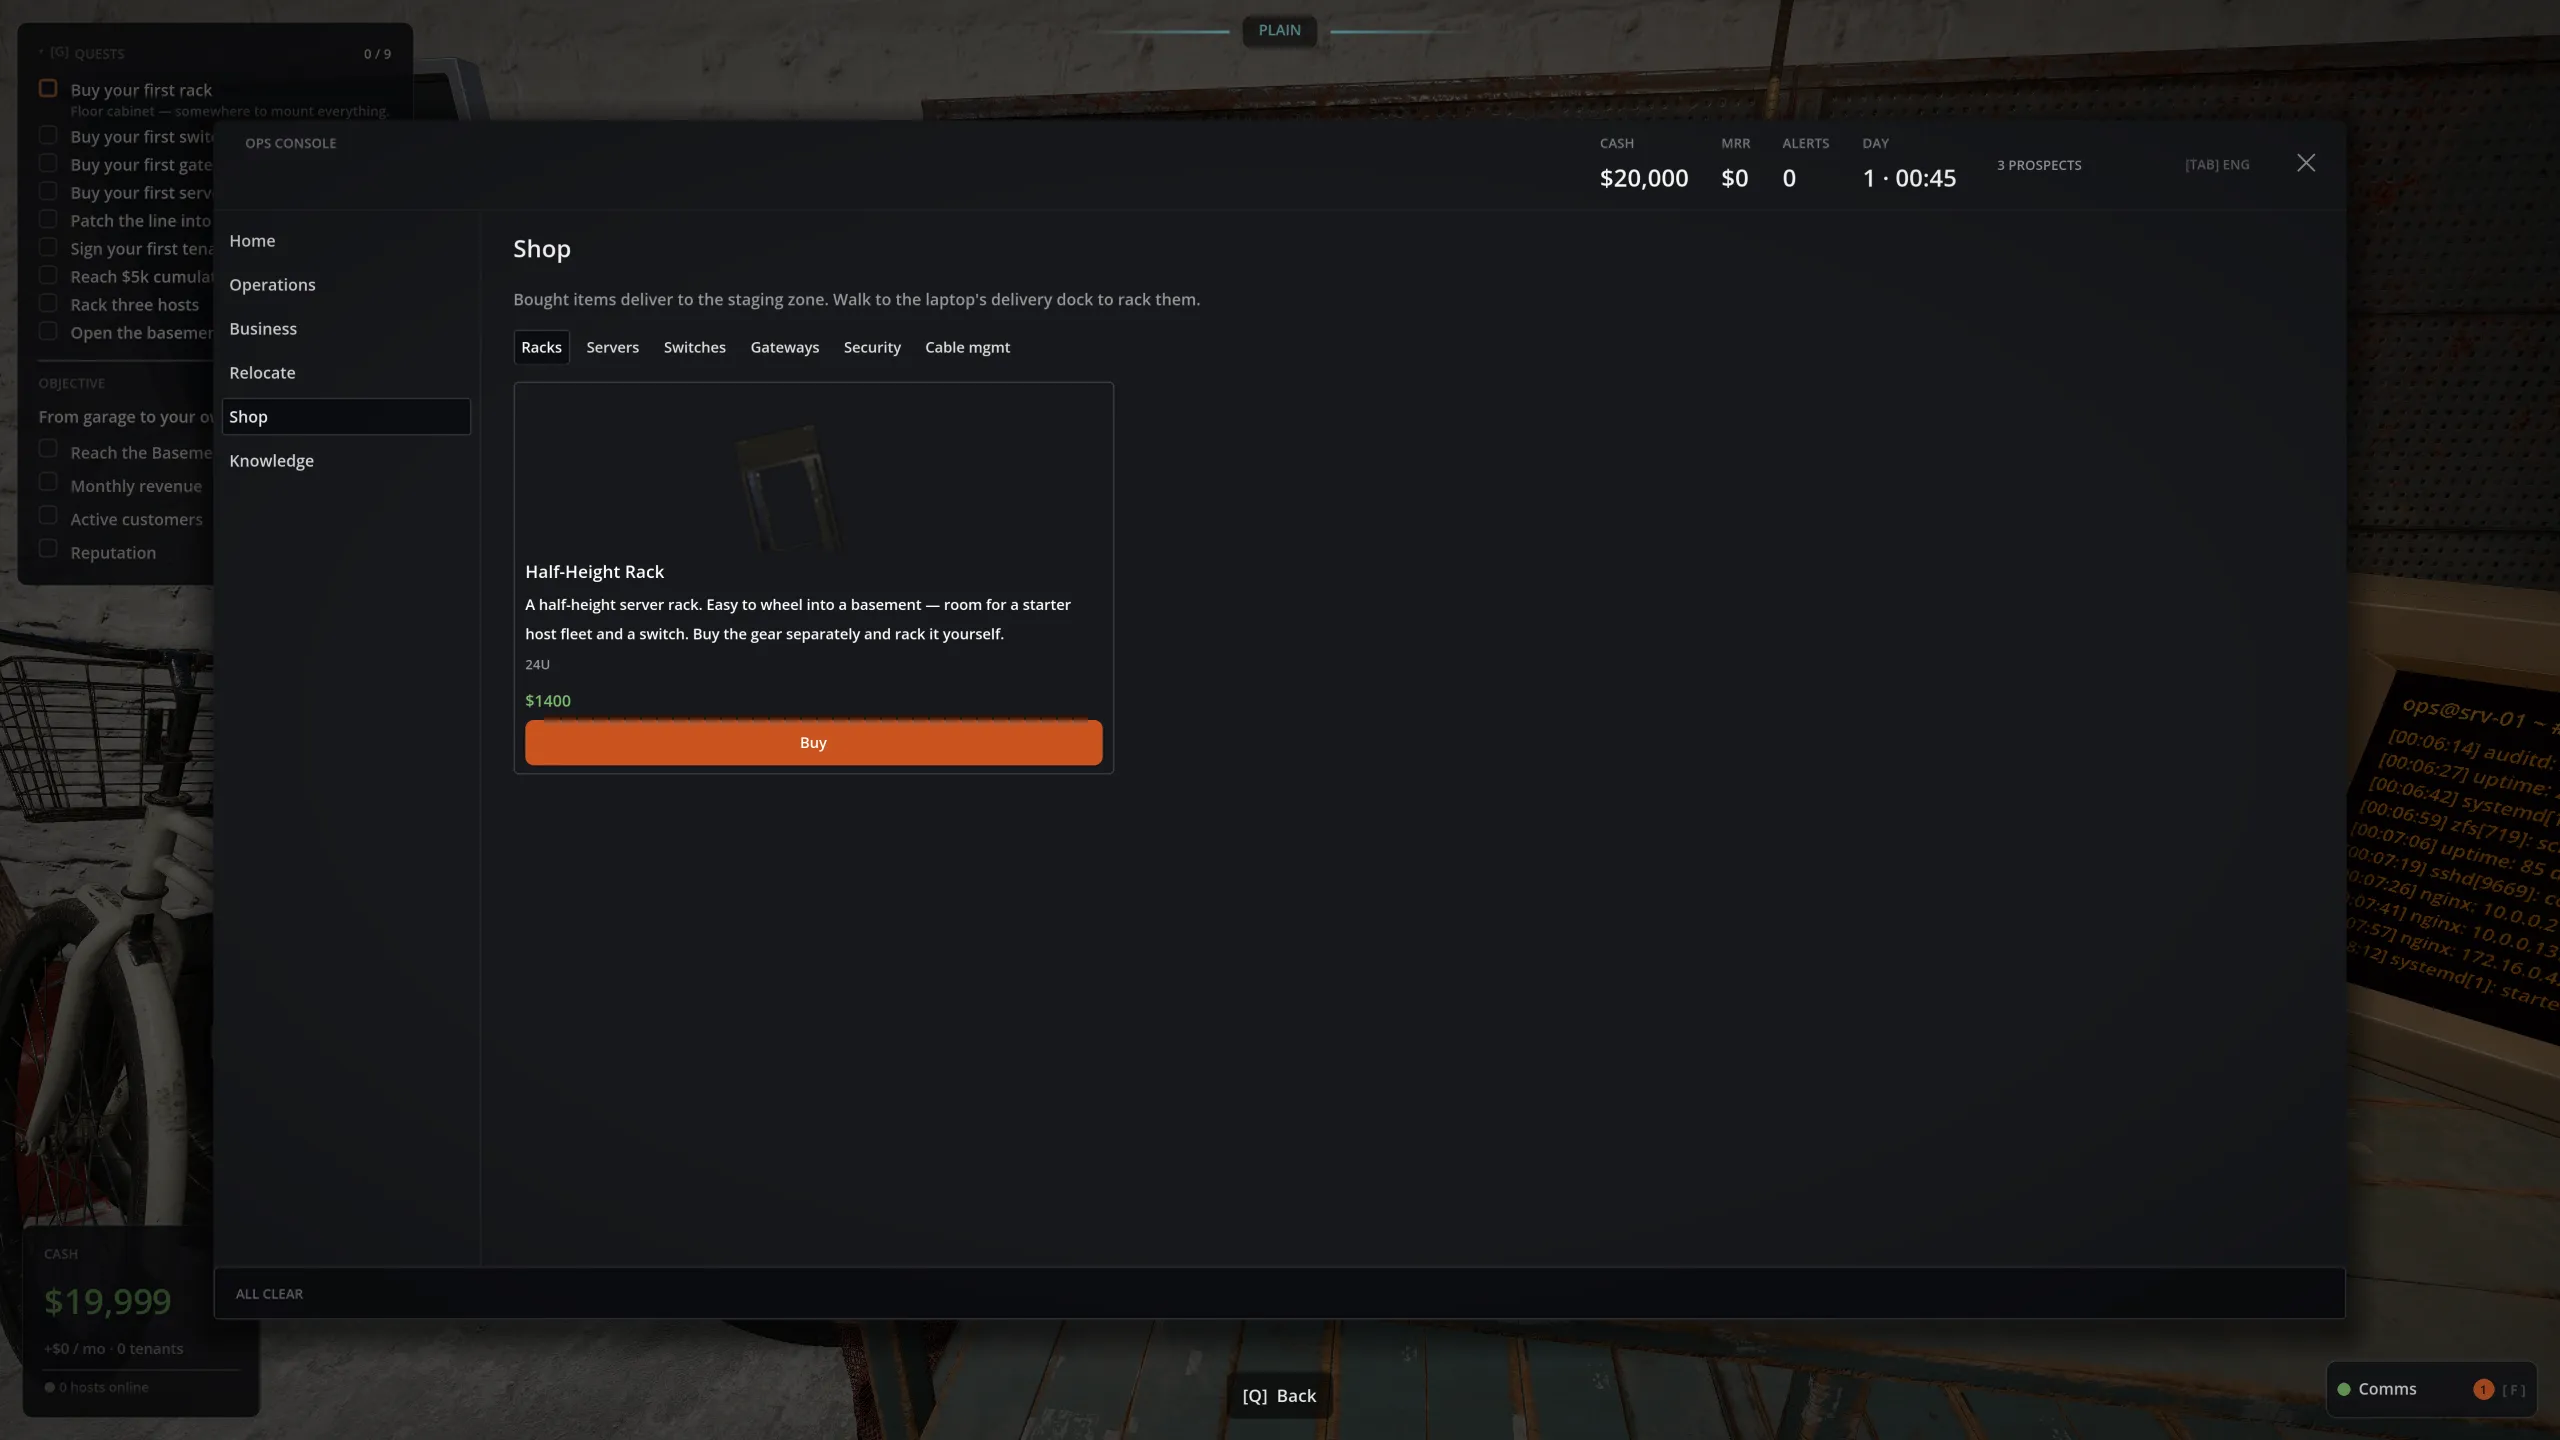
Walk to the workbench, look at the laptop, and press E when the Open ops console prompt appears. The console handles everything that does not require your hands in the garage:
| Area | What it is for |
|---|---|
| Home | A quick view of the company and infrastructure state |
| Operations | Equipment health, capacity, and active incidents |
| Business | Prospects, customers, money, and commitments |
| Shop | Hardware purchasing |
| Knowledge | Explanations for systems as they become relevant |
Open Shop first. Press E again, or Esc, when you want to close the console and return to the garage.
Mira
This is the order screen. Spend what the company has, not what it wishes it had.
04 Minute 1–4 · Buy the stack and rack it
Four pieces, in this order.
Open Shop and follow the quest list. You need a small but complete starter stack:
- 01A floor rack
The wall cabinet is too small for the switch and host.
- 02A small switch
Even one server needs a network path behind the gateway.
- 03A 4x1G + 2x10G gateway
This internet-facing device belongs in the wall rack beside the handoff.
- 04One host
The physical server that will run your first customer's VM.
How delivery and mounting work
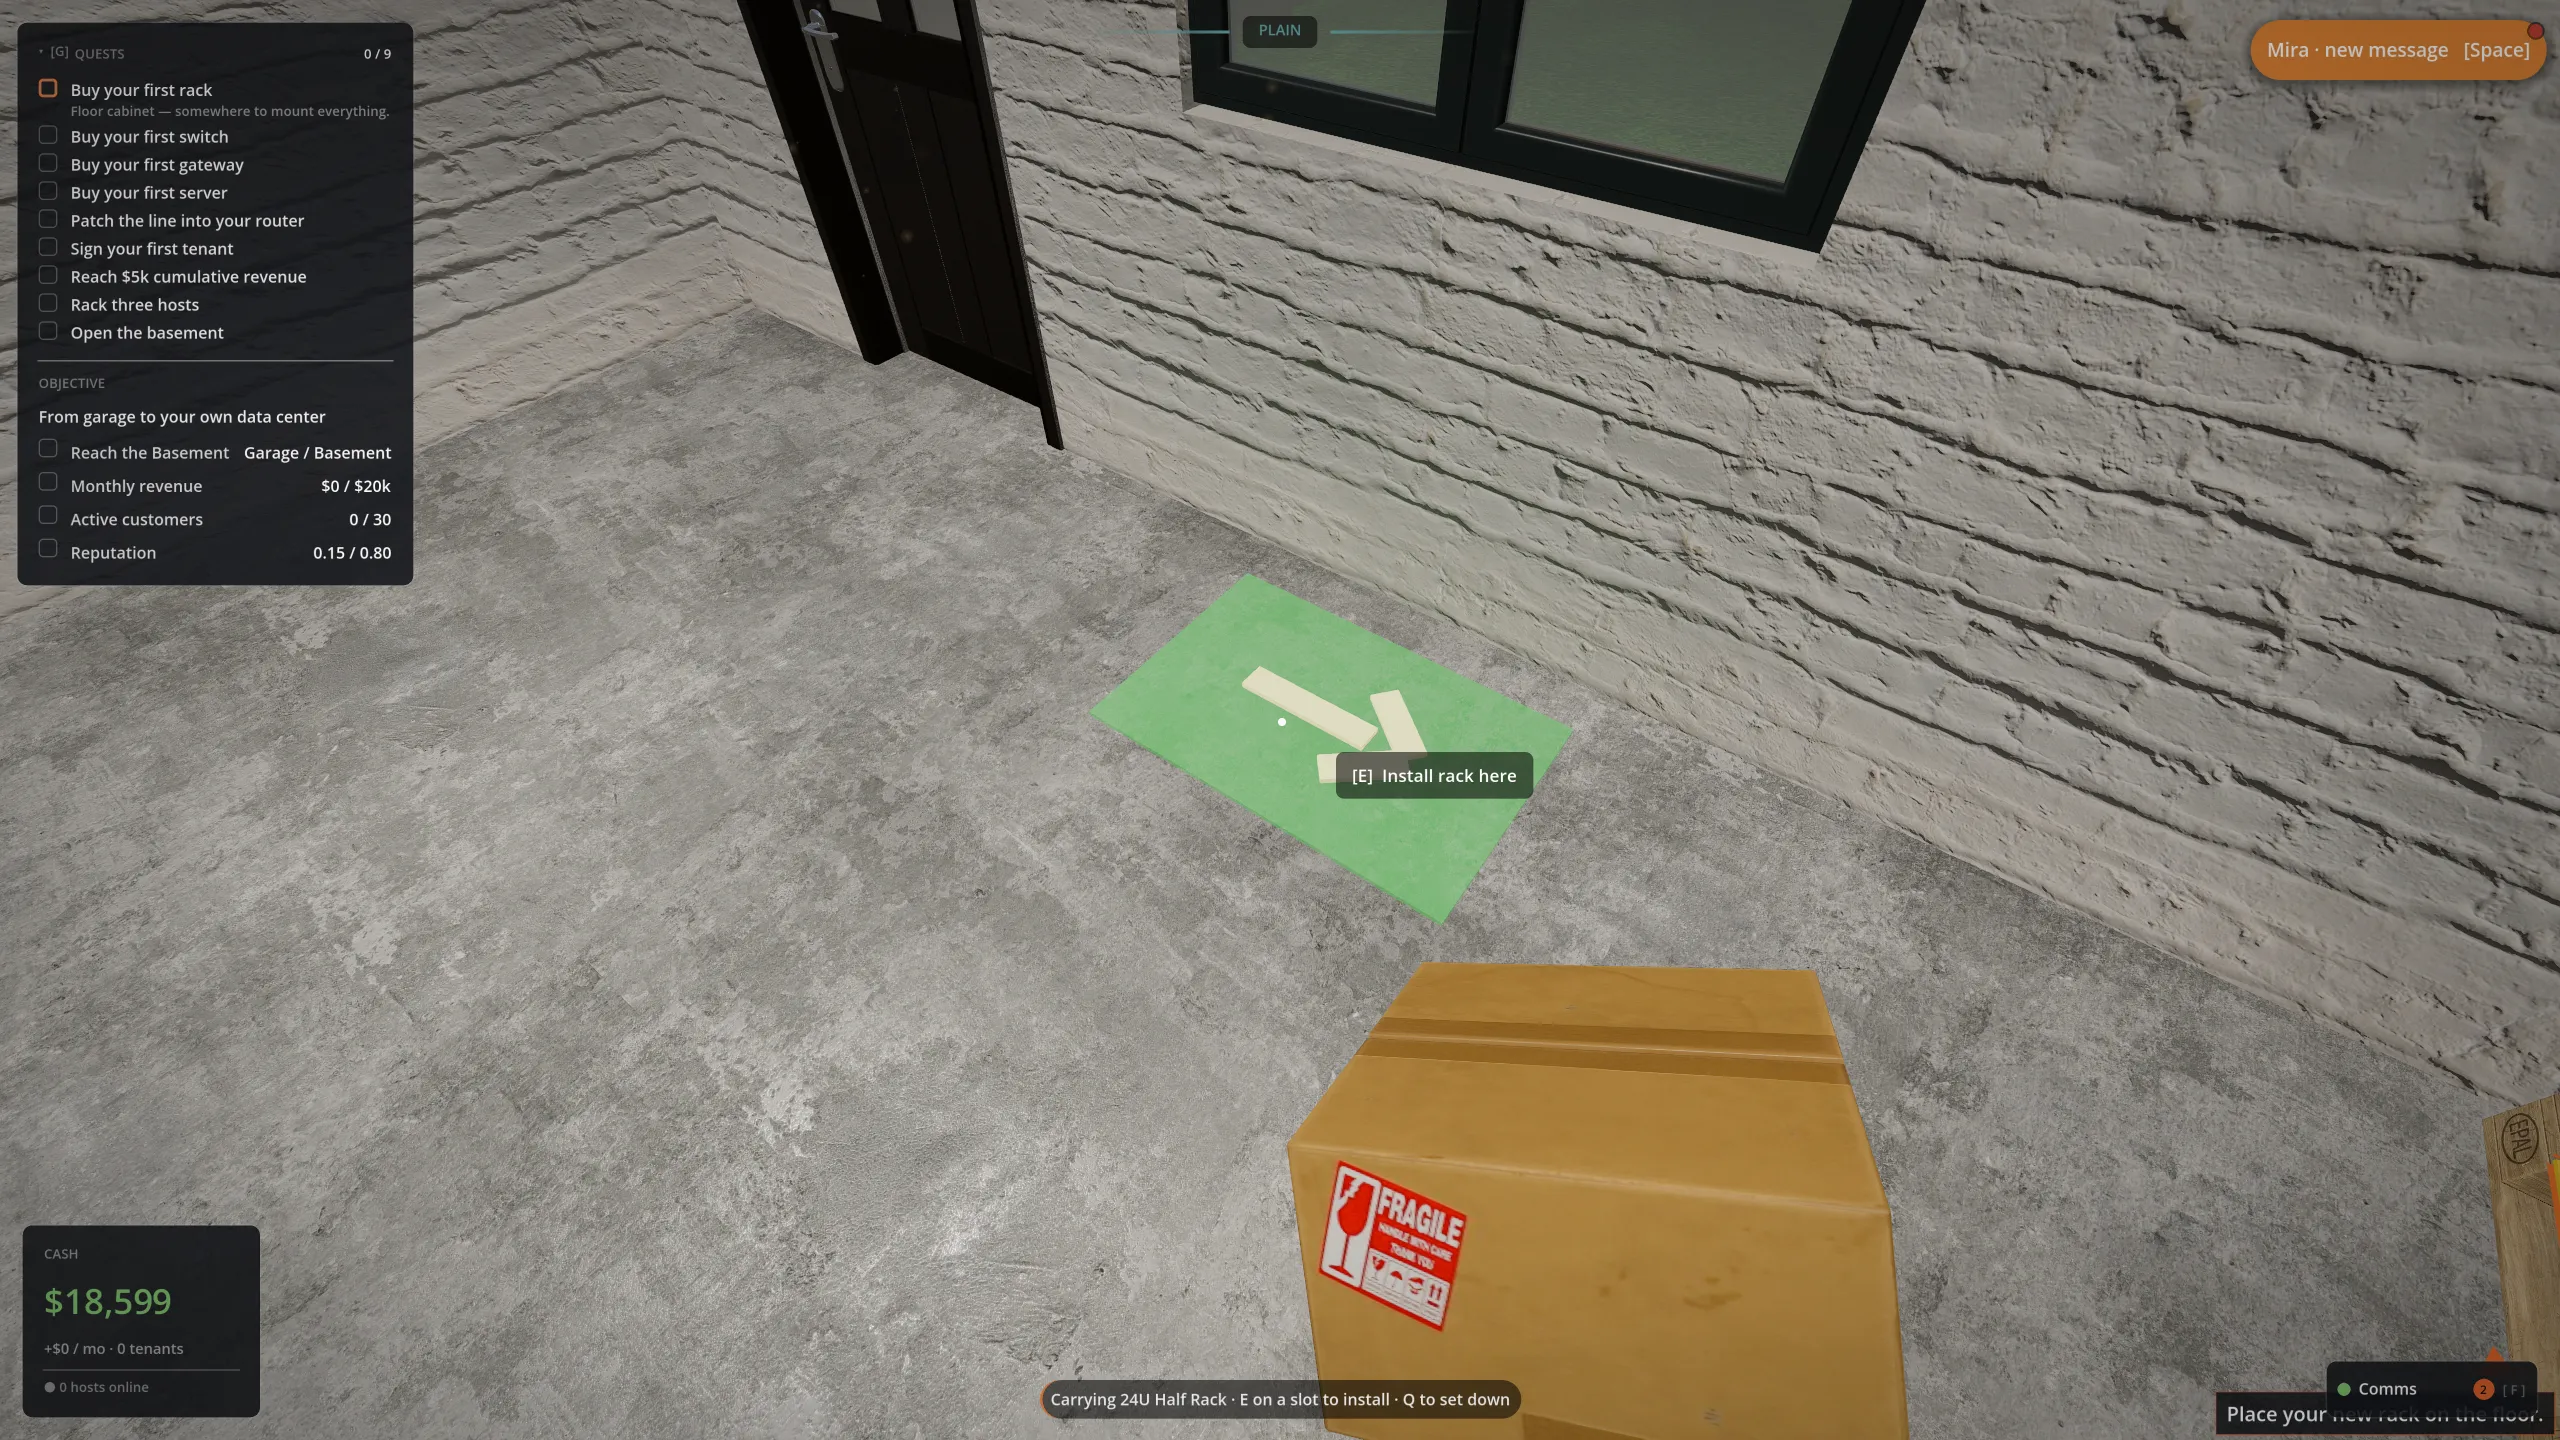
Purchased equipment arrives as a box on the shipping pallet, marked by the yellow dashed area on the floor. Walk to a box and press E to pick it up.
- Place the floor rack in the open floor position indicated by the game.
- Mount the gateway in the wall cabinet beside the ONT.
- Mount the switch and host in empty slots of the floor rack.
- Press Q if you need to set a carried item down instead.
The same rhythm works for every device: walk up, look at the target, and press E.
Mira
The rack is real now. Prove the model before you start filling every slot.
05 Minute 4–6 · Cable it up and get online
Racked hardware does nothing until it is plugged in.
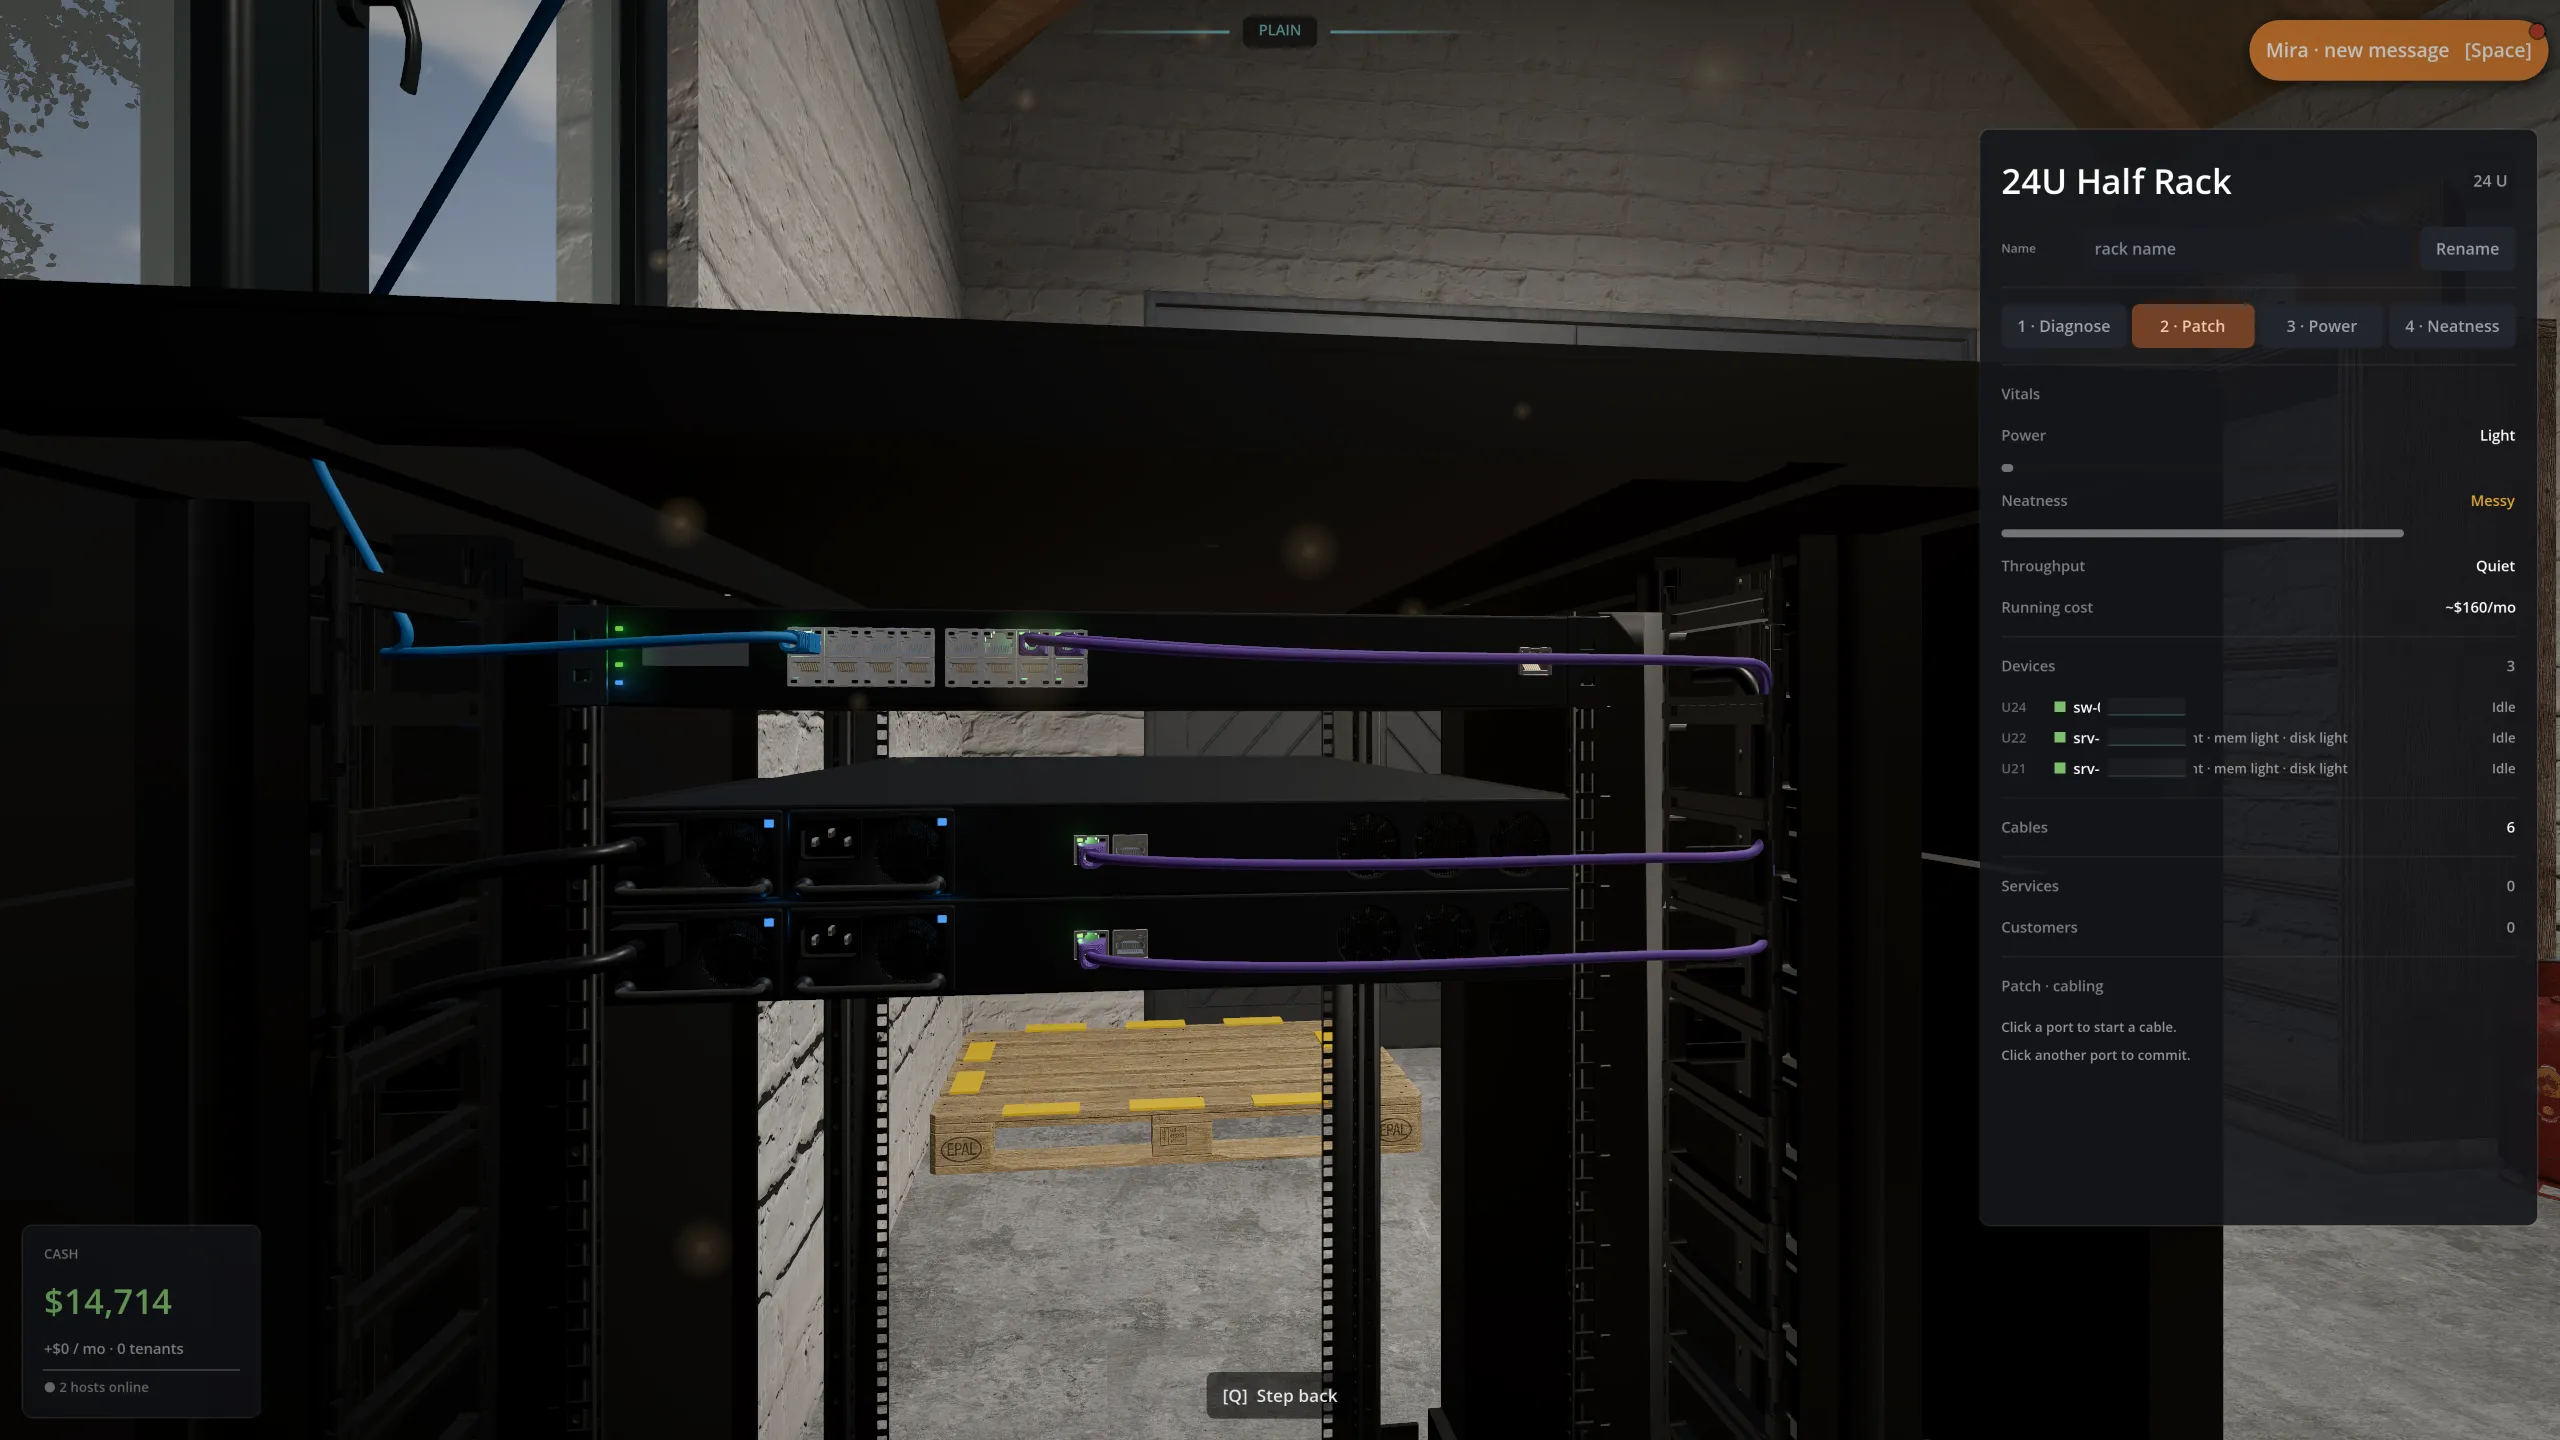
Power first
Every mounted device needs its own power cord: gateway, switch, and host. Inspect each rack, look at the AC inlet on the rear of the device, and press E to connect it.
The most common first-minute problem
If a newly mounted device has dark LEDs, check its power cord before debugging the network.
Then build the network path
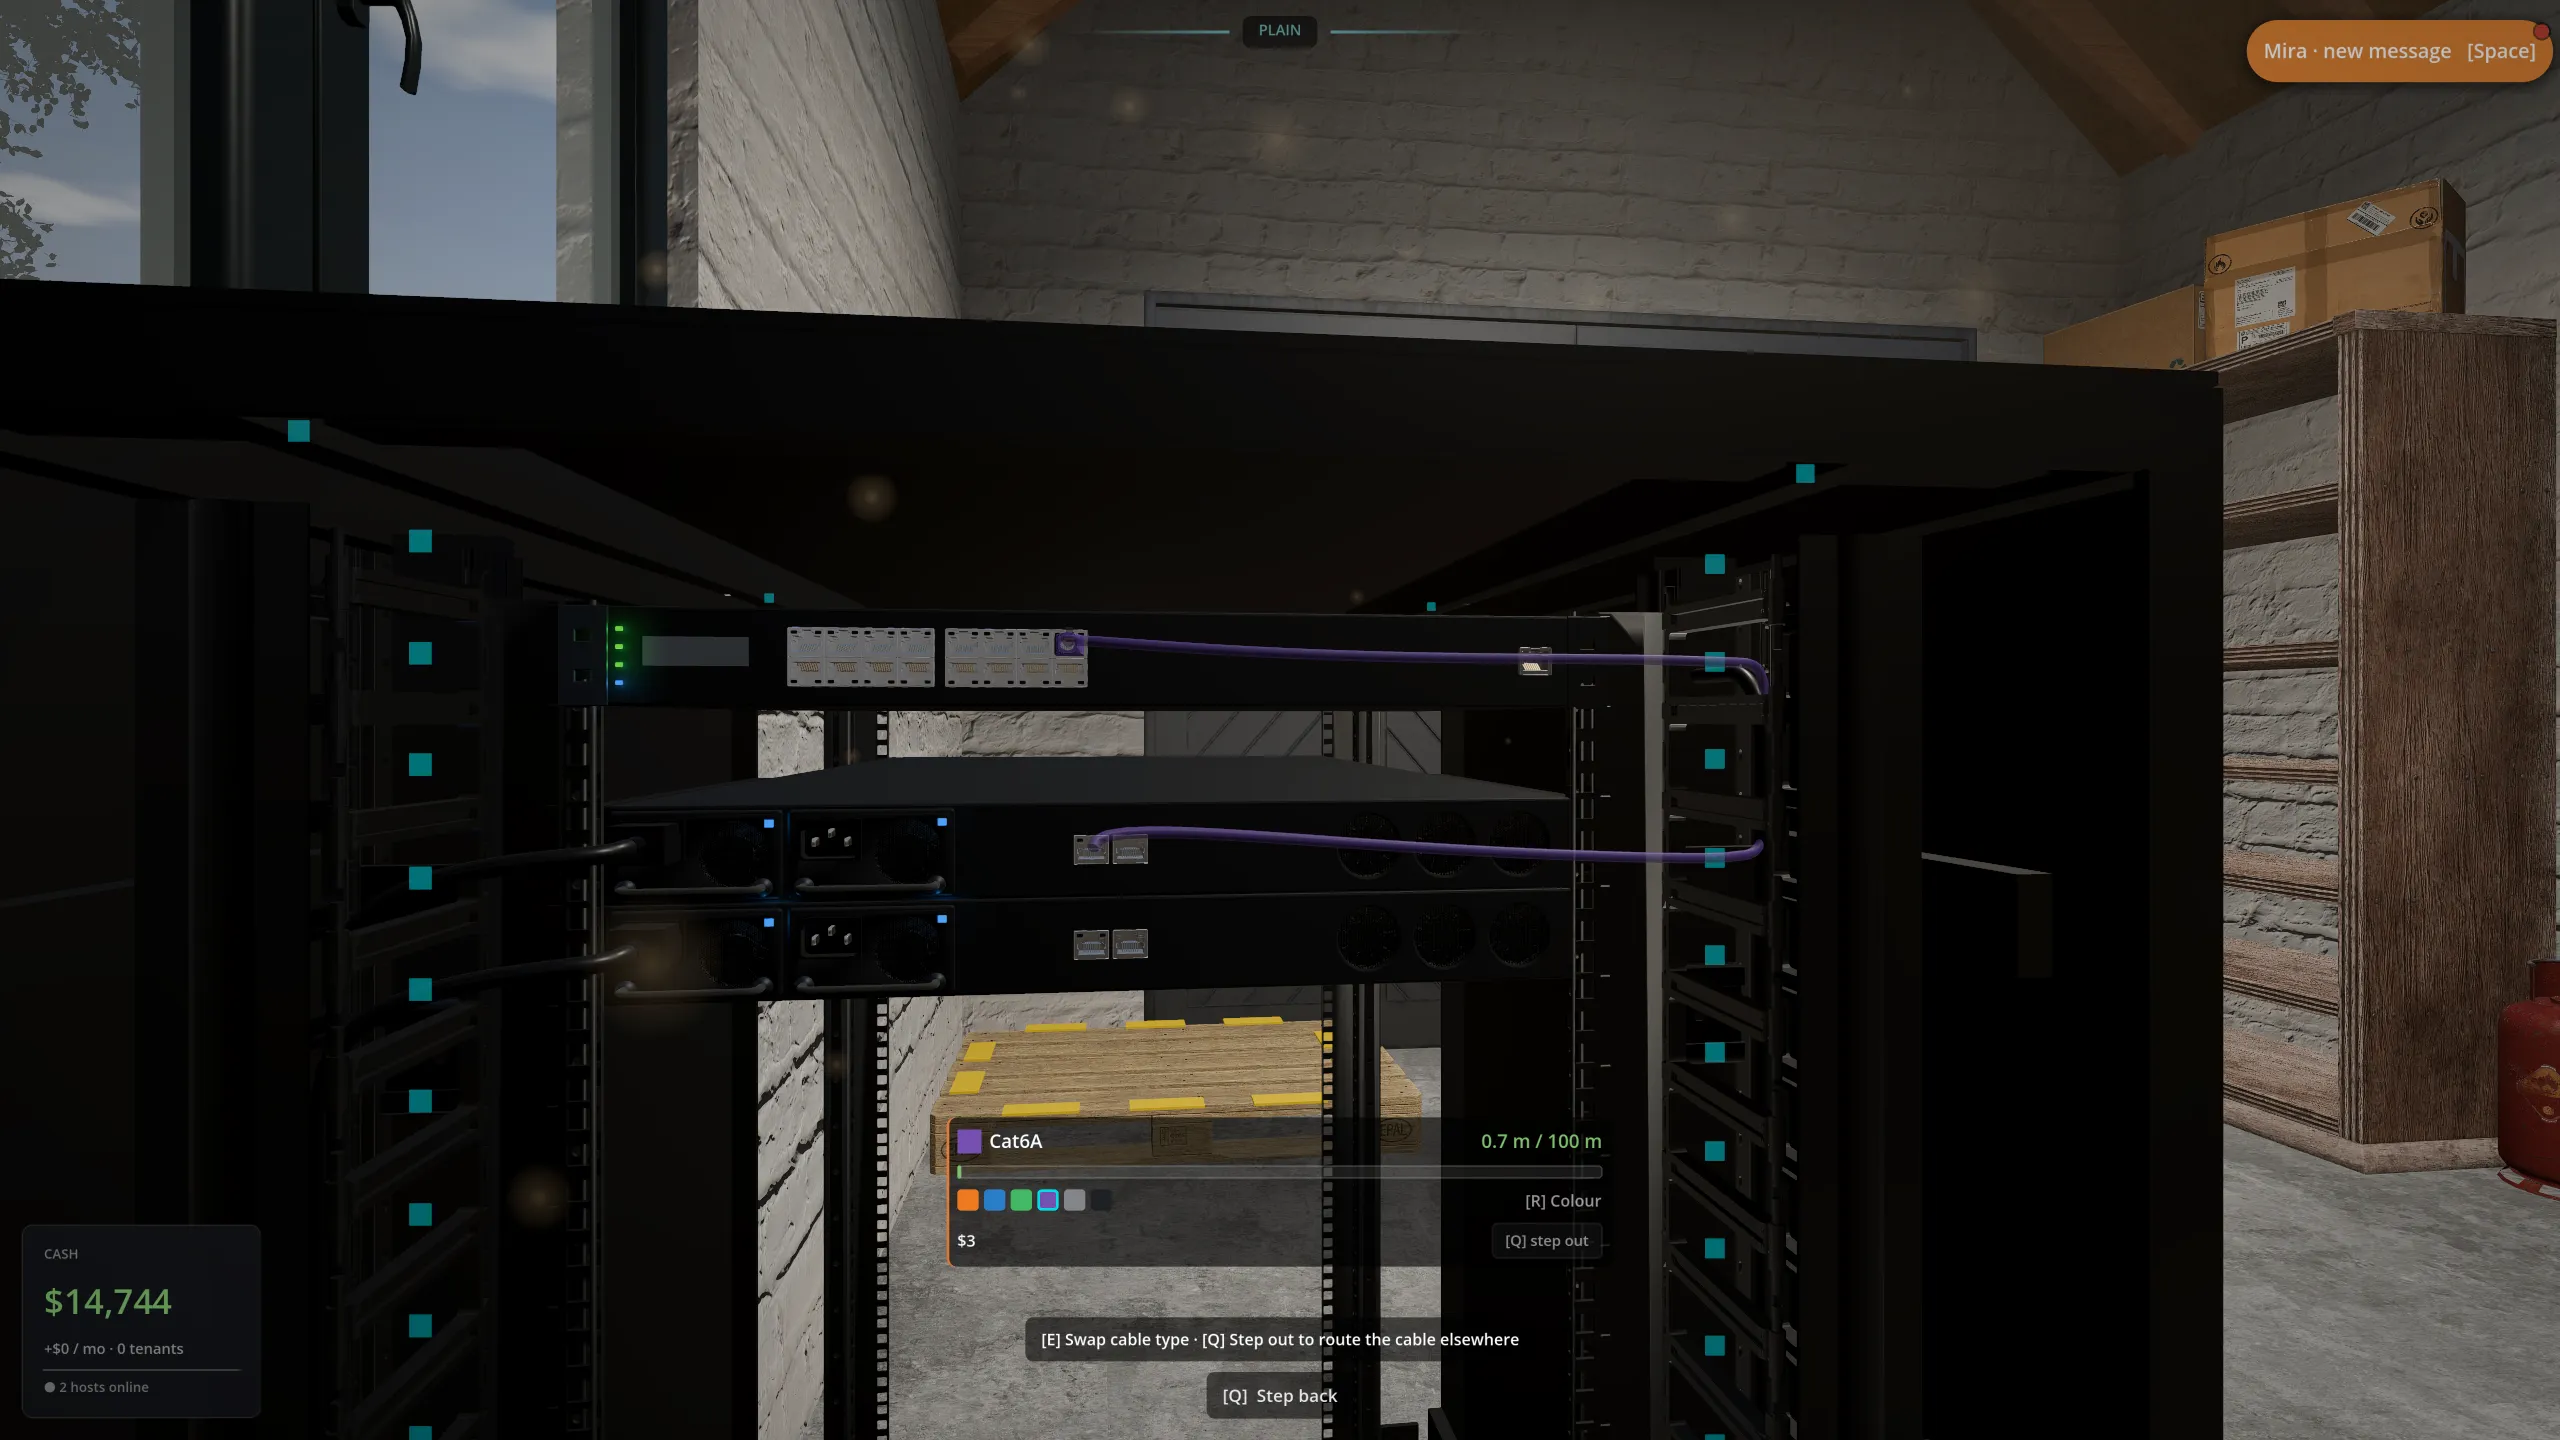
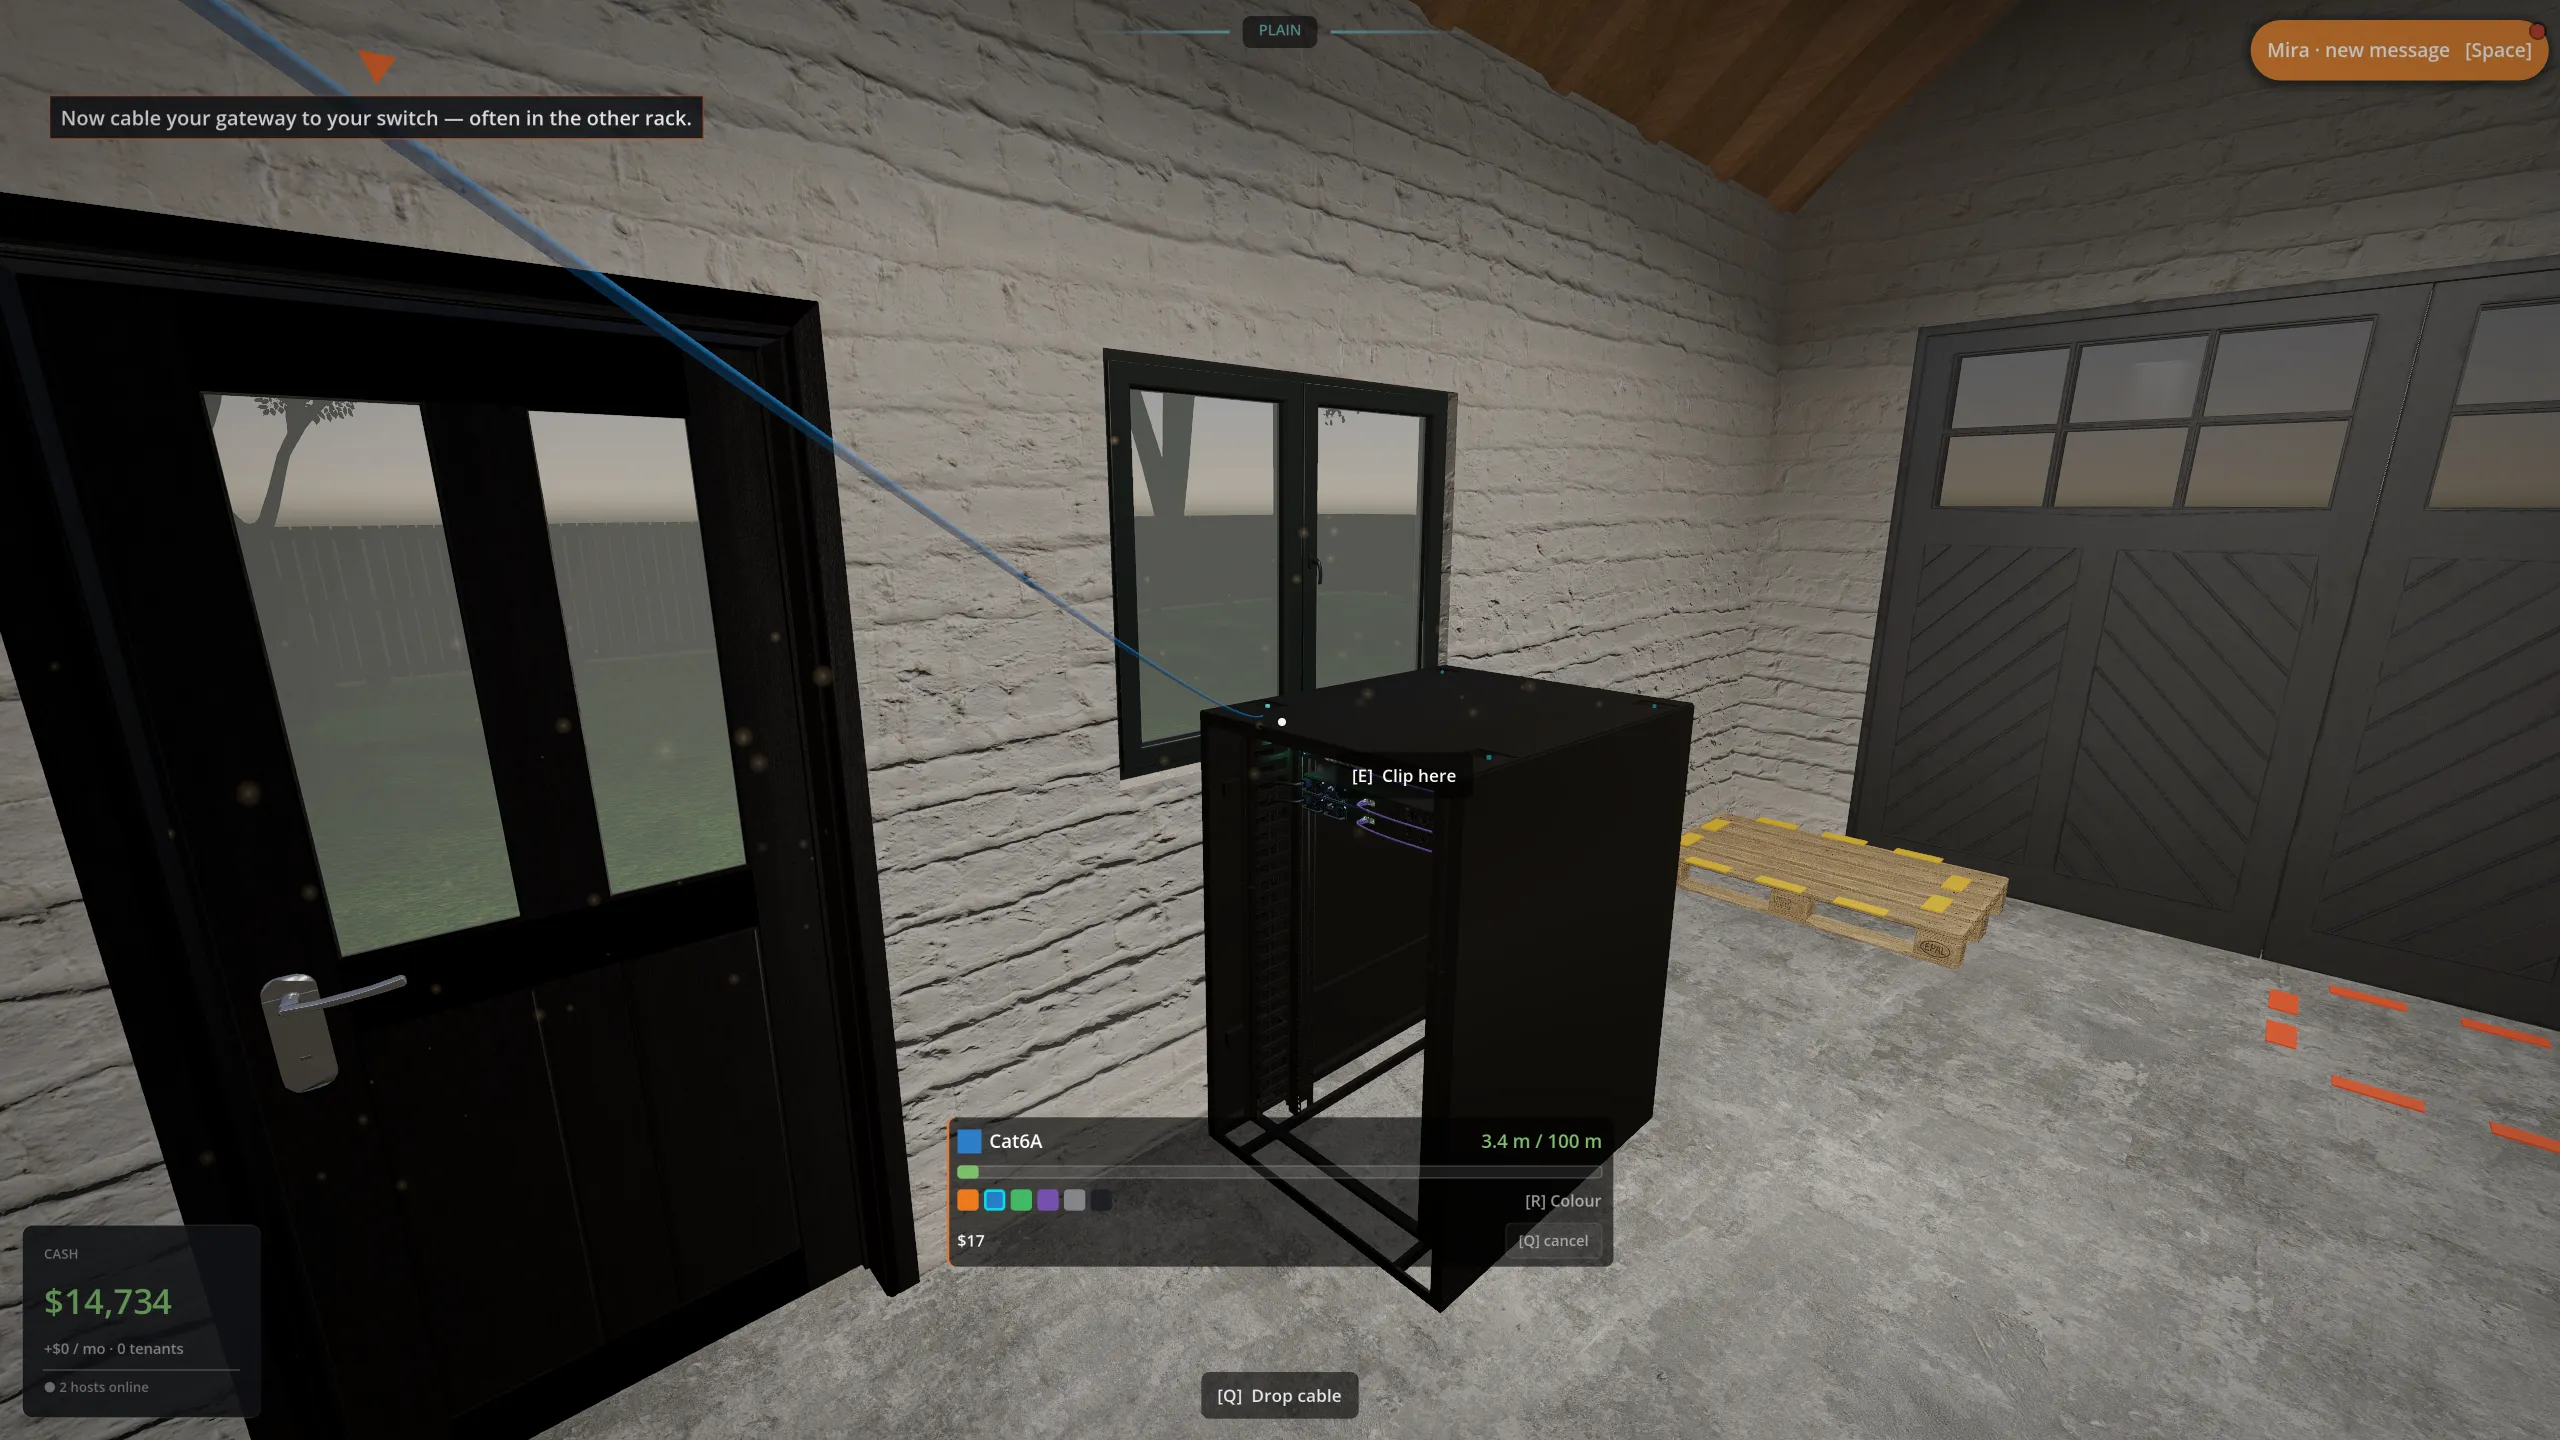
The signal must travel host → switch → gateway → wall ONT. Cabling is performed by walking the route:
- Look at the starting port and press E to pick up one end of a cable.
- Walk toward the destination. Press E to place an anchor at each corner.
- Use Q to remove the most recent anchor if the route is wrong.
- Look at the destination port and press E to seat the connector.
- Repeat until the host has a complete path to the ONT.
Press R while routing a cable to cycle its color. Consistent colors make host links, uplinks, and management runs easier to recognize later.
Mira
Once the connector clicks into place, that part of the path is live.
06 Minute 5–7 · Sign your first tenant
Someone in the queue becomes your first customer.
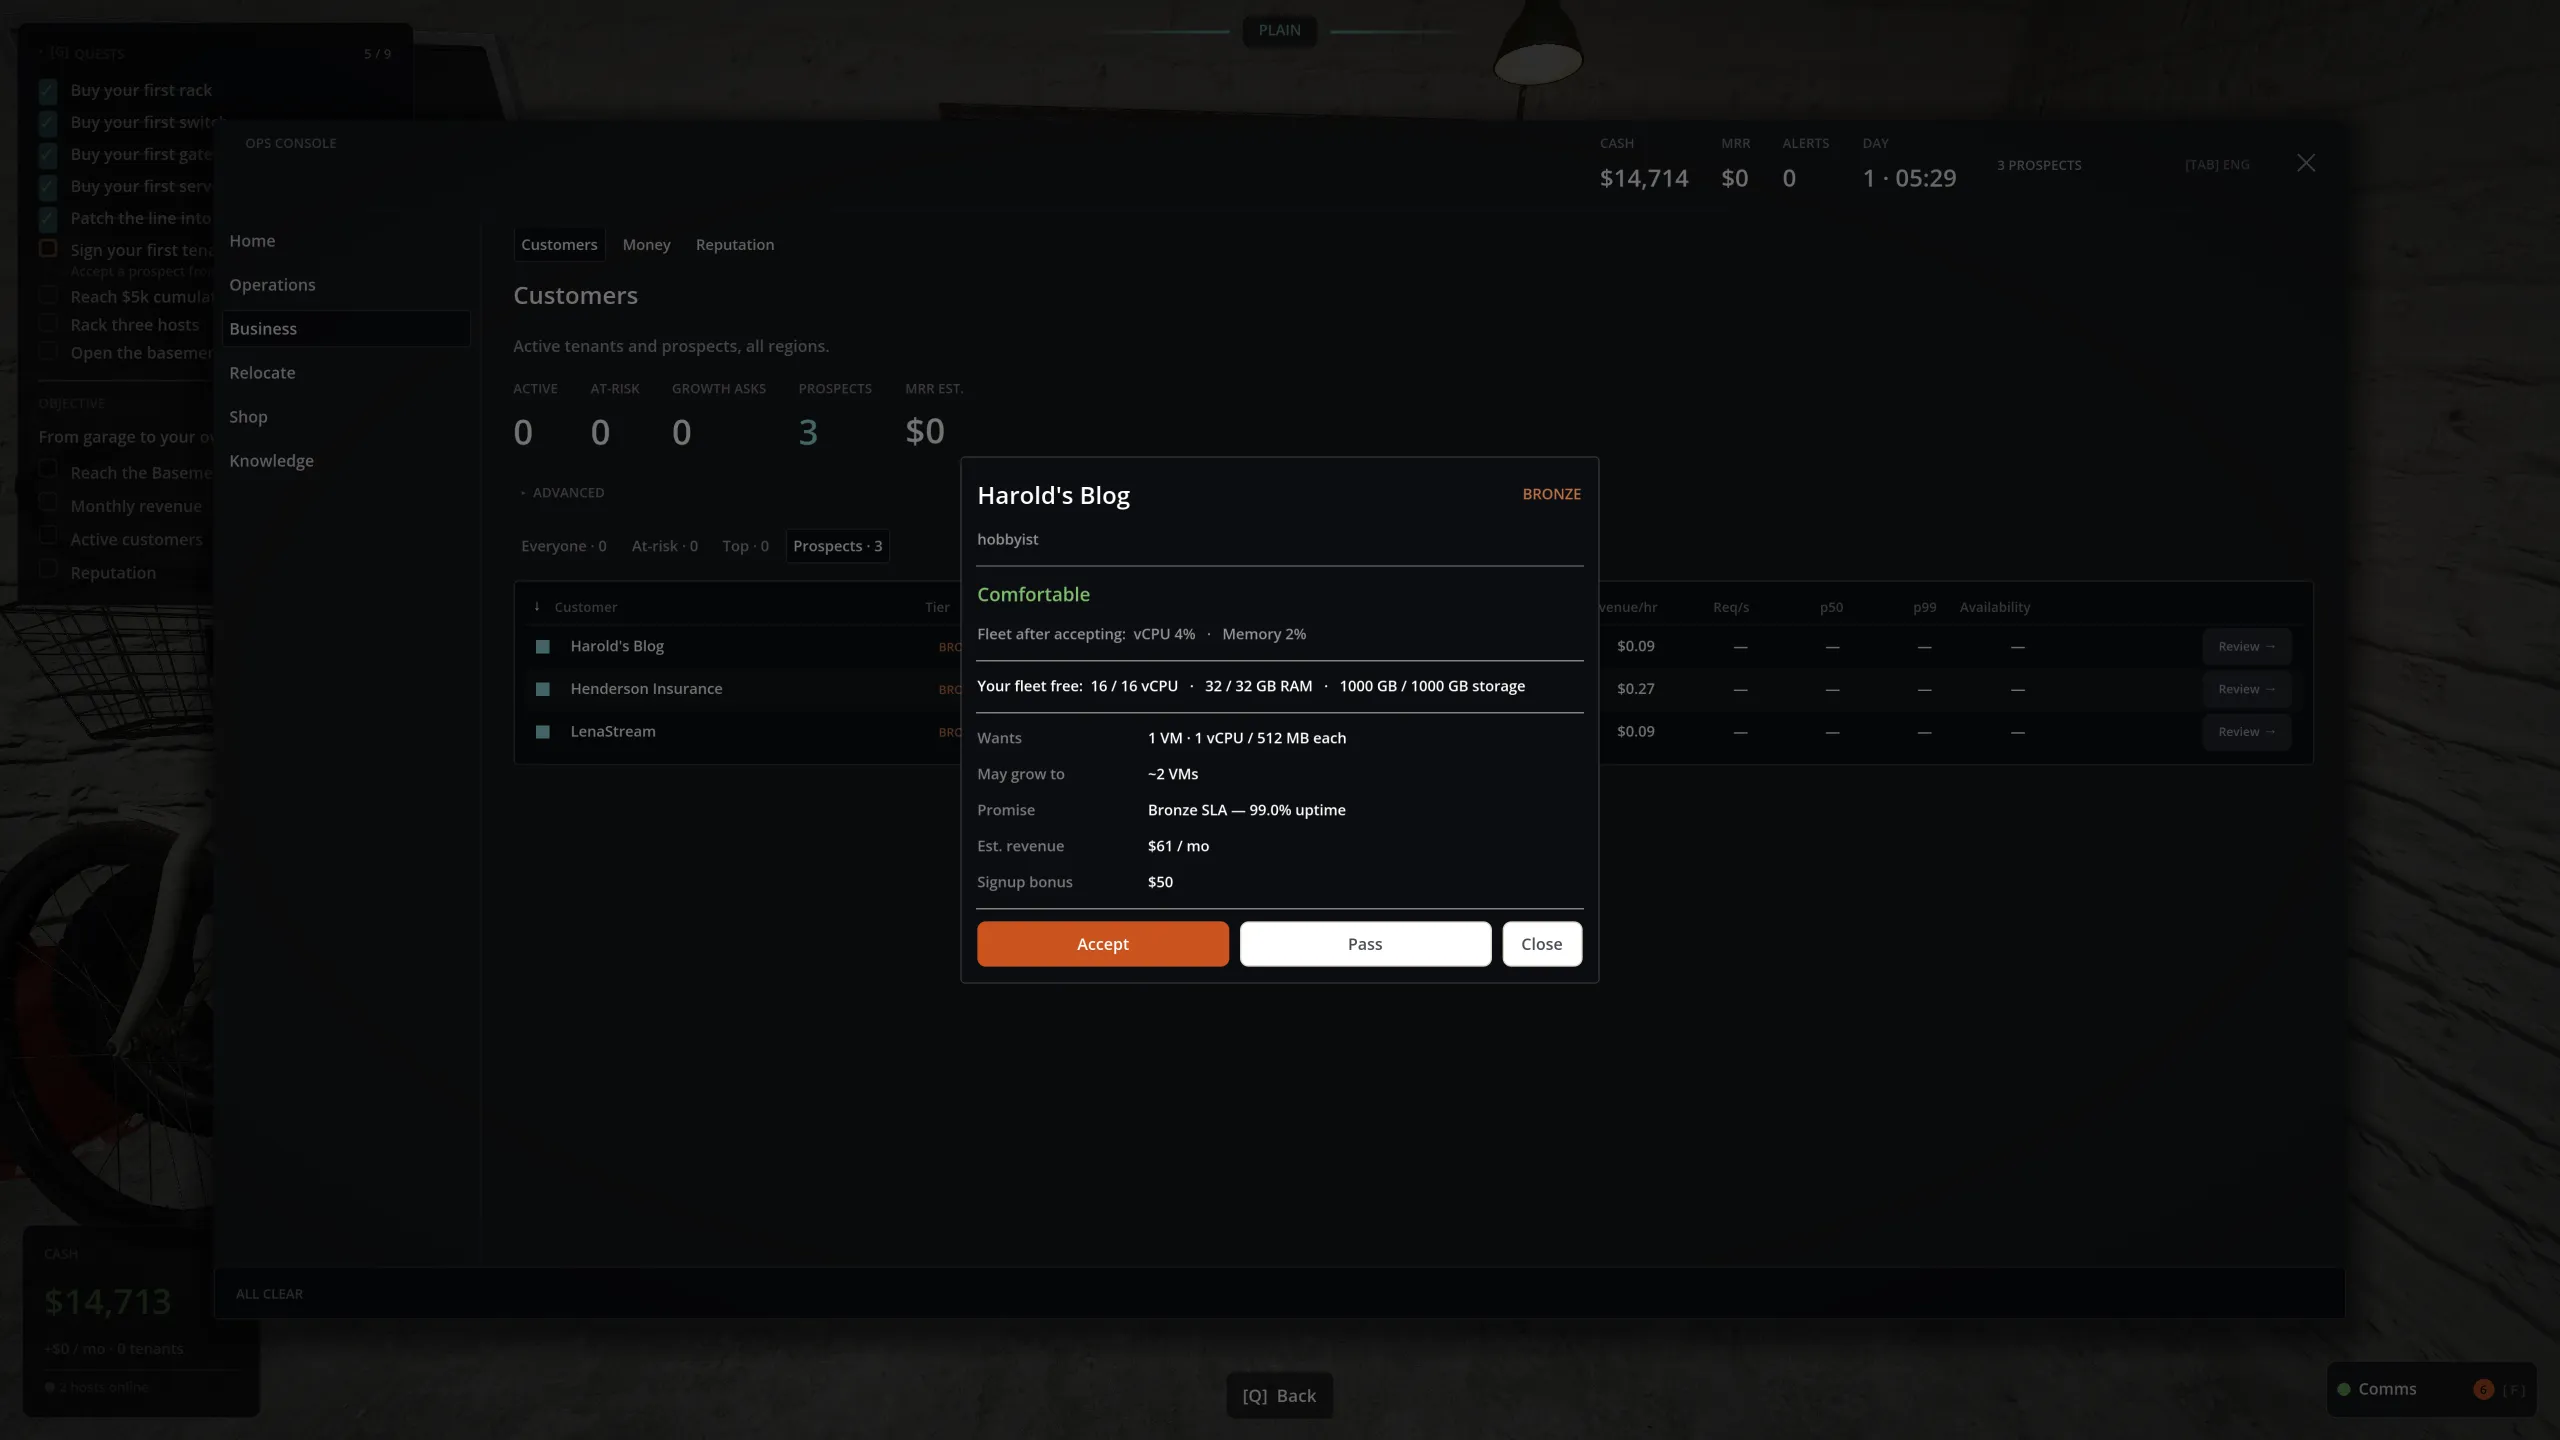
Return to the ops console and open Business. Two early prospects are waiting:
A forgiving hobbyist who needs one small VM and pays a $50 signup bonus.
A bootstrapped founder who needs two larger VMs and pays $200 to sign.
Choose a prospect whose request fits the host you installed, then select Accept. A virtual machine is simply a slice of that physical host presented to the customer as their own computer. For now, that is the product you sell.
Mira
The first customer has signed. Now keep their machine running.
You are now a cloud provider: someone is paying your company to keep a computer available.
07 Minute 7–9 · Your first incident
Things break. You walk over. You fix them.
A few minutes after signing the first customer, a patch cable starts working loose. Mira warns you before the connection drops. Anything downstream of that cable goes offline when it fails.
What to do: find the failed cable, remove the loose run, and route a replacement exactly as you did before. Once the complete path is restored, the customer returns online. This is Uptime's core operational loop in miniature: observe, trace, repair, verify.
Mira
One patch looks loose. Reseat it before somebody walks past and pulls it free.
08 Running in the background
A few systems continue moving while you work.
The queue holds only a few prospects, and reputation takes time to grow.
Cooling is limited. Heat becomes an early constraint as you add equipment.
The next tenant may be bursty rather than steady. Do not assume every workload behaves alike.
Too much CPU overcommit makes busy VMs compete for the same physical cores.
What finishing the garage means
The first ten minutes only get the company running. To unlock the move to the basement, reach both of these milestones at the same time:
- $20,000 in monthly revenue — the current run rate, not the cash balance.
- 30 active customers.
There is no separate cash or reputation gate. The company must simply prove that enough customers can be served reliably enough to sustain the business.
09 If nothing seems to be happening
Quick fixes
| Problem | What to check |
|---|---|
| You are lost | Press G for the current quest or F for Mira's latest hint. |
| You cannot find a purchase | Check the shipping pallet and its yellow dashed floor marking. |
| A server will not serve | Trace power and the full network path from host to wall ONT. |
| The terminology is overwhelming | Press Tab to switch to plain-language descriptions. |
Keep capacity ahead of demand, watch the heat, and repair the physical path when it fails.